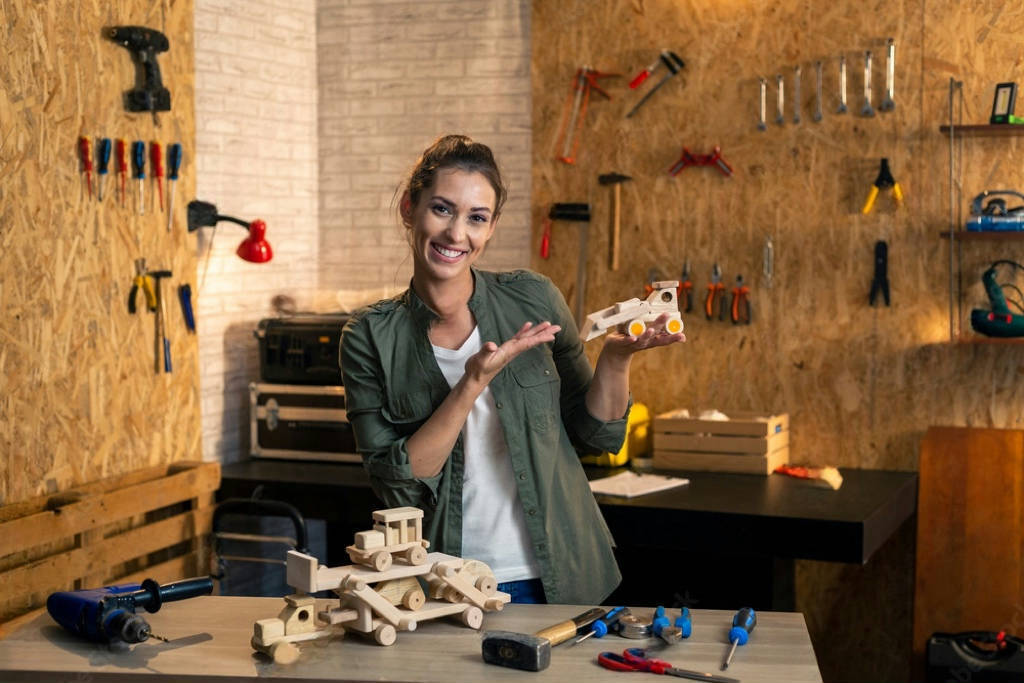
How to Make a Wooden Toy Car
Let’s be honest—car toys are practically magic for little kids (especially the mini race car enthusiasts out there). Sure, you could buy a shiny plastic one off the shelf, but why not turn toy time into memory-making magic? If you’re looking to add a bit of heart and hands-on fun, making a wooden toy car with your child is the ultimate bonding move.
This isn’t just a toy—it’s a handcrafted symbol of fatherly love, a mini masterpiece that your kid will remember forever.
What You’ll Need (DIY Toolkit Time!)
A wooden board (around 2cm thick – pine or fir works great)
A saw (hand saw or electric, depending on your superhero level)
Sandpaper (grab a few grits to smooth things out)
Wood glue (aka toy-making magic juice)
A drill (optional, but helpful!)
Wooden stick or dowel (for the axles)
4 bottle caps or small wooden wheels
Paint and brushes (time to get artsy!)
Varnish (if you want it to shine and last)
Let’s Build This Memory-Maker!
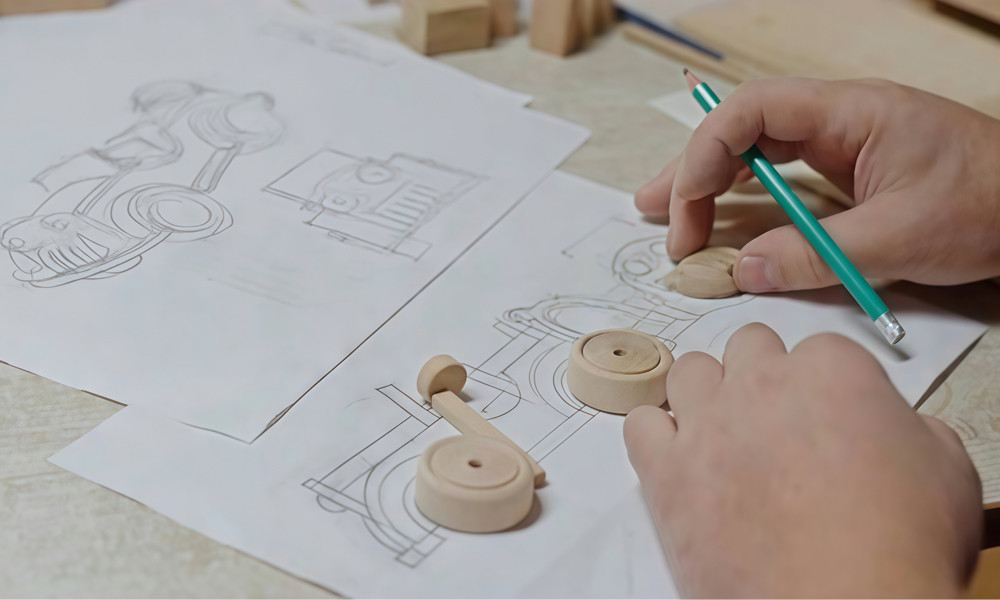
1.Design the Dream Car
Sketch out the car shape on the wood. Rectangle? Sportscar? Rocket ship on wheels? Let your child’s imagination steer the way.
2.Time to Cut
Carefully cut along your drawing. Tip: you can even print or trace a car shape and stick it to the wood to guide your saw.
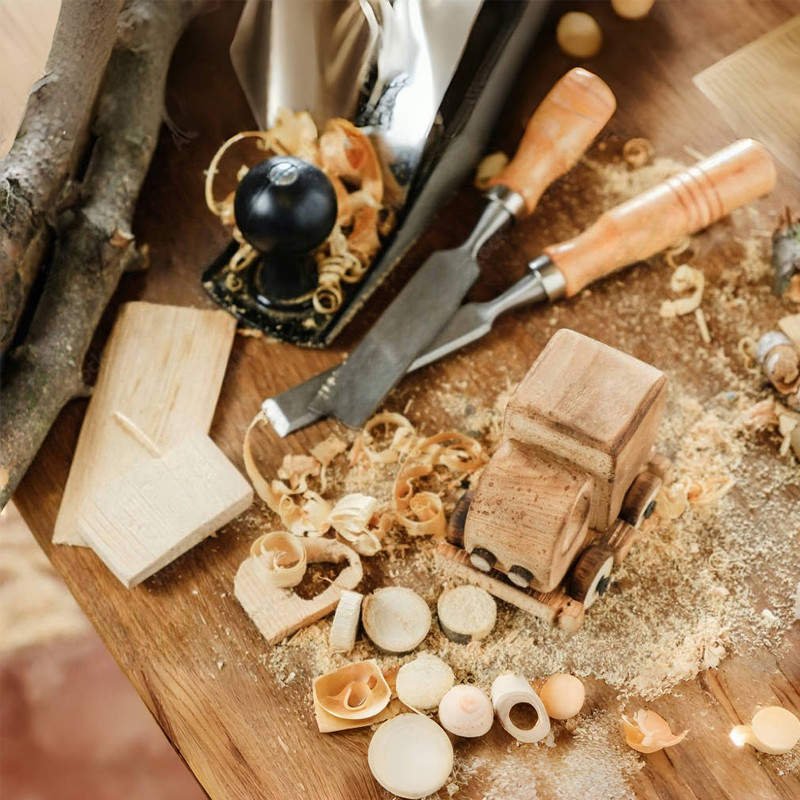
3.Smooth It Out
Sand the edges until it’s soft and splinter-free. (No ouchies allowed!)
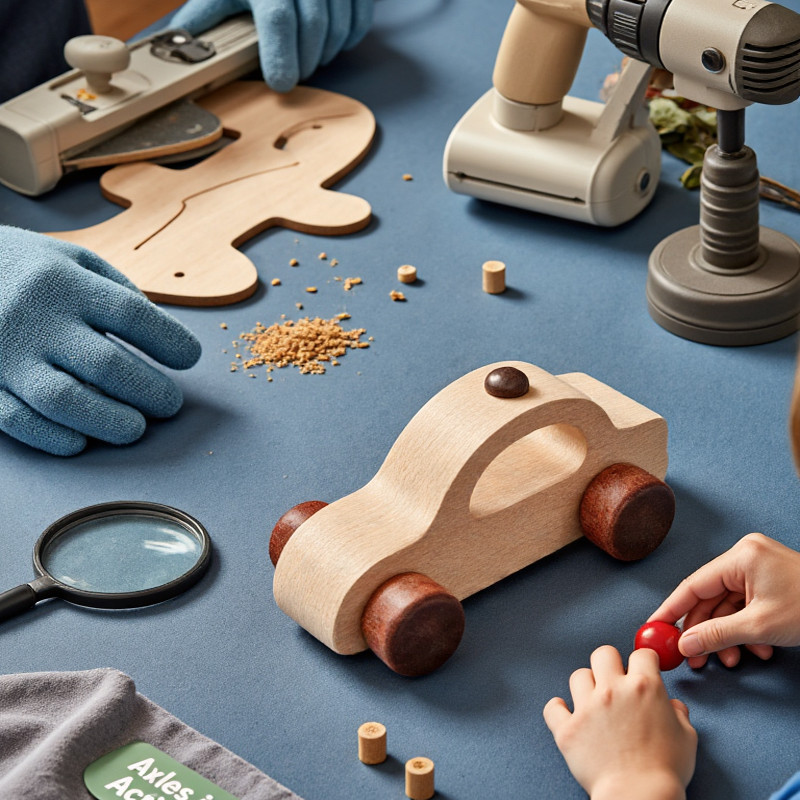
4.Drill, Baby, Drill (Carefully)
Make four small holes on the bottom of the car where the axles will go. This is where the magic starts to take shape!
5.Axles in Action
Cut your wooden stick into two axle pieces—long enough to peek out past the sides.
6.Wheel It Up
Slide on your wheels (bottle caps or small wooden ones), and secure them with glue. Spin test is a must!
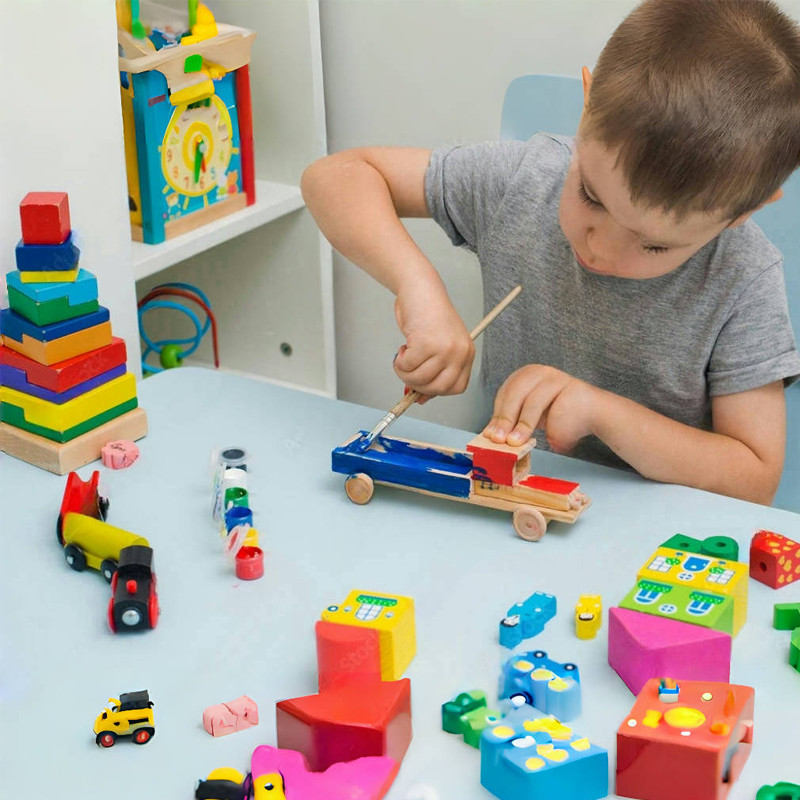
7.Paint Party!
Let your kid go wild with paint—add windows, headlights, racing stripes, or even a superhero logo.
8.Varnish (Optional Shine Mode)
Once the paint’s dry, a coat of varnish will keep those colors bright and beautiful.
Tips from the Toy-Making Pros
(That’s You Now!)Always supervise tool time, especially with little hands around
Let your child take the creative lead—they’ll love it even more.
For younger kiddos, you handle the tricky stuff while they get messy with the fun parts.
Most importantly: engrave your child’s name and the date on the car. It turns a fun project into a forever keepsake.
So grab that wood, roll up your sleeves, and build more than just a toy—build a little legend your child will proudly zoom around and show off for years to come. Because nothing says “I love you” like sawdust, teamwork, and a toy car that rolls straight from the heart.